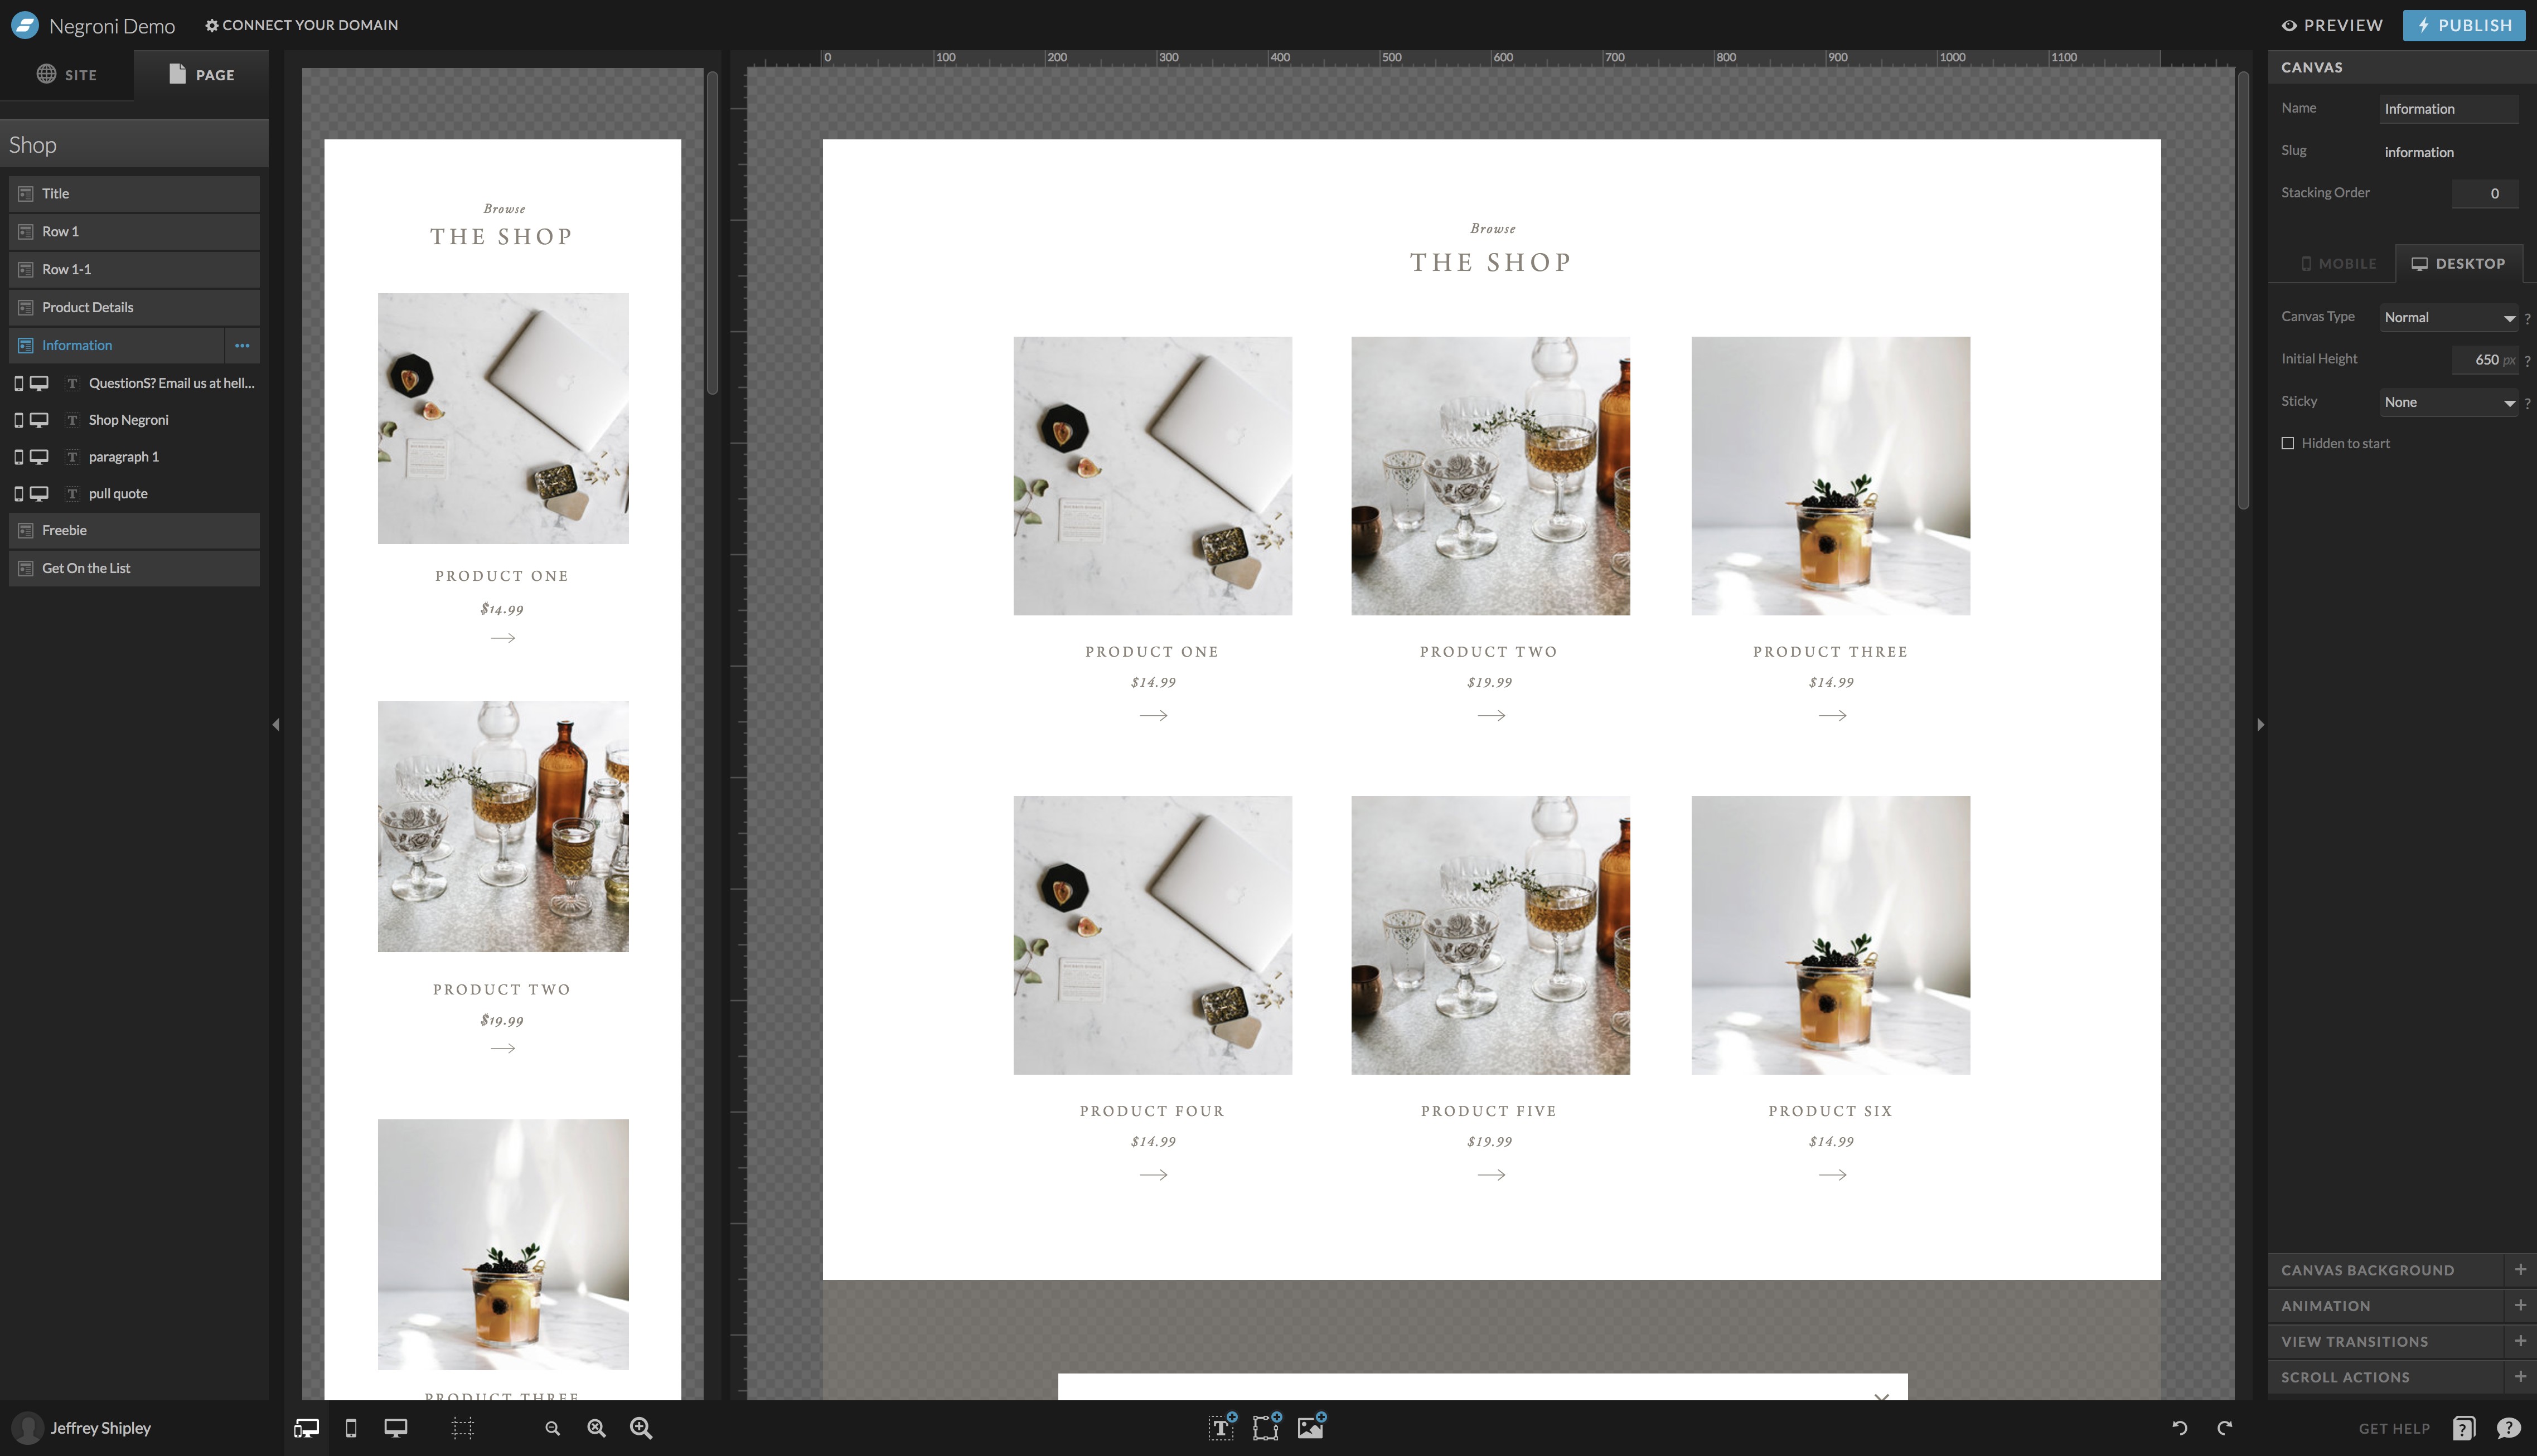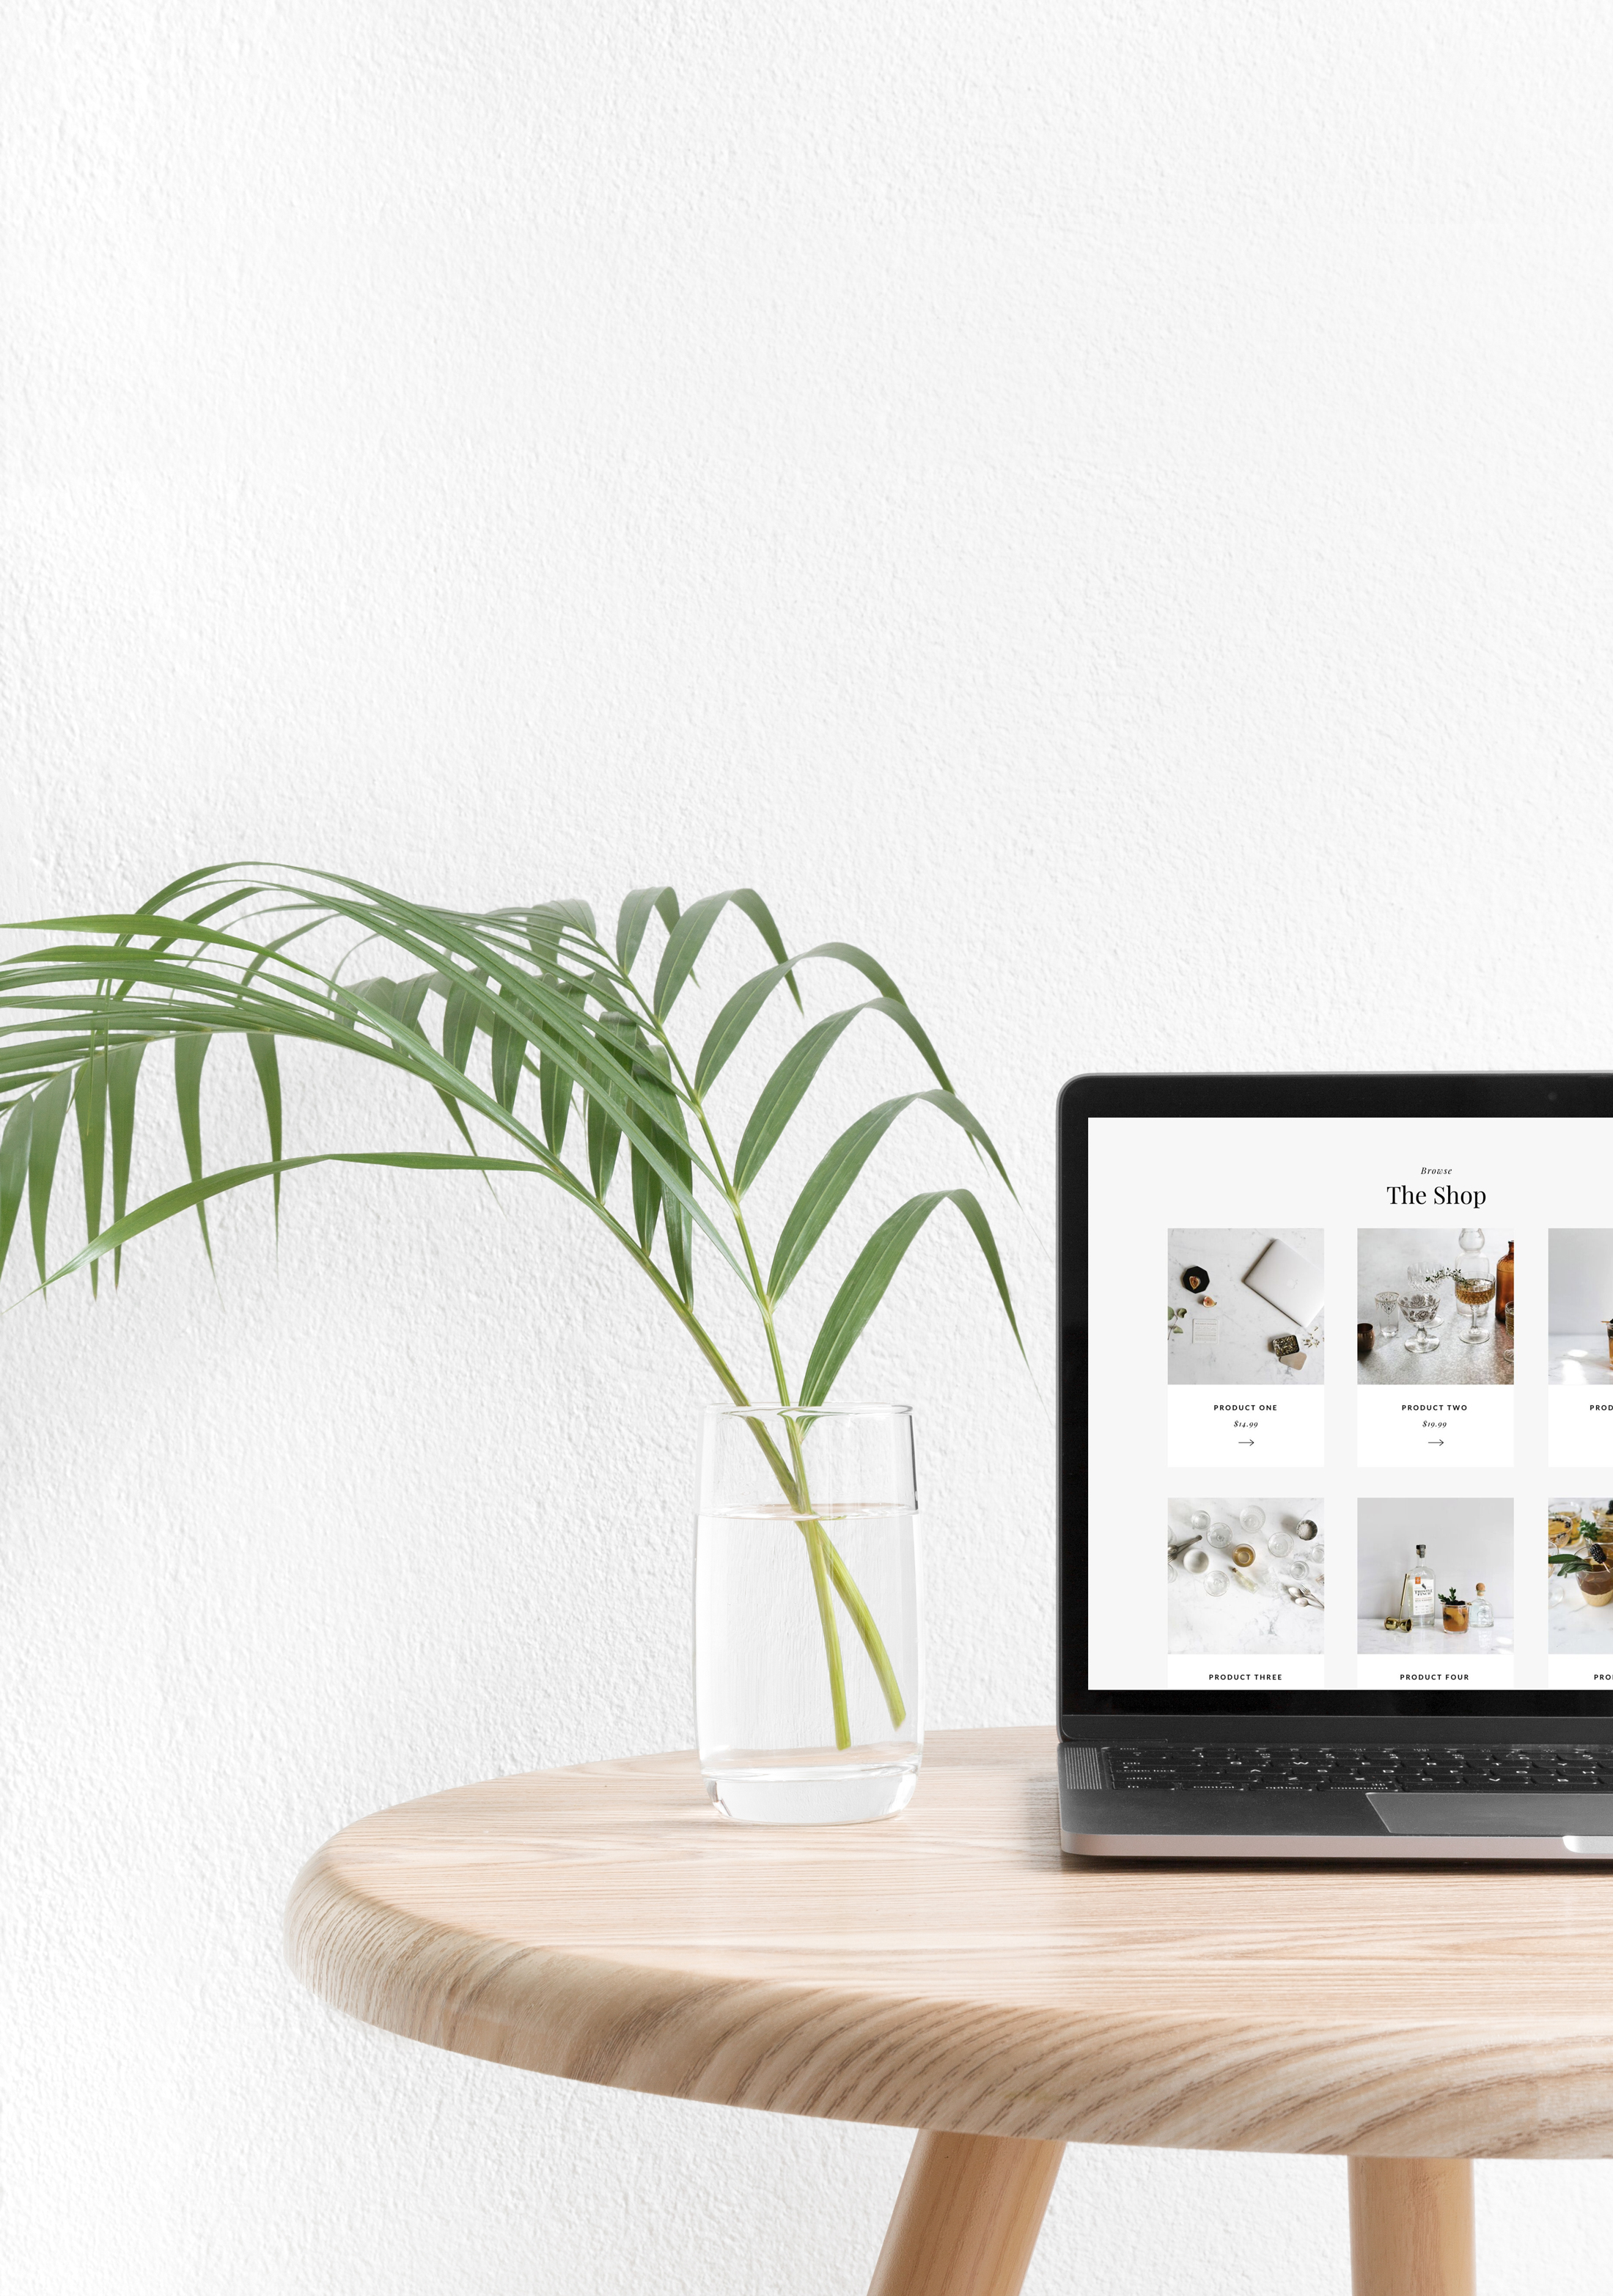
At long last, we’ve added in a happy little shop page add-on to make all your e-commerce dreams come true. Gone are the days of ugly Paypal buttons or external cart pages. With this simple, easy to use add-on, we’ve made selling yo’ sh*t from your pretty new website a breeze using the foolproof buy button tools from Shopify Lite. Which means more cash in your pockets, and of course, more happy clients. Pop the champs, y’all!
So here’s how it all works, and how you can add a shop page to your TONIC site …
Step One: Install the Shop Add-On Page template into Showit
First up, you’ll need to install our handy Shop Add-On Page into your Showit Library. To do so, copy the sharekey from your download file to your clipboard, add new design to library, and paste the sharekey.
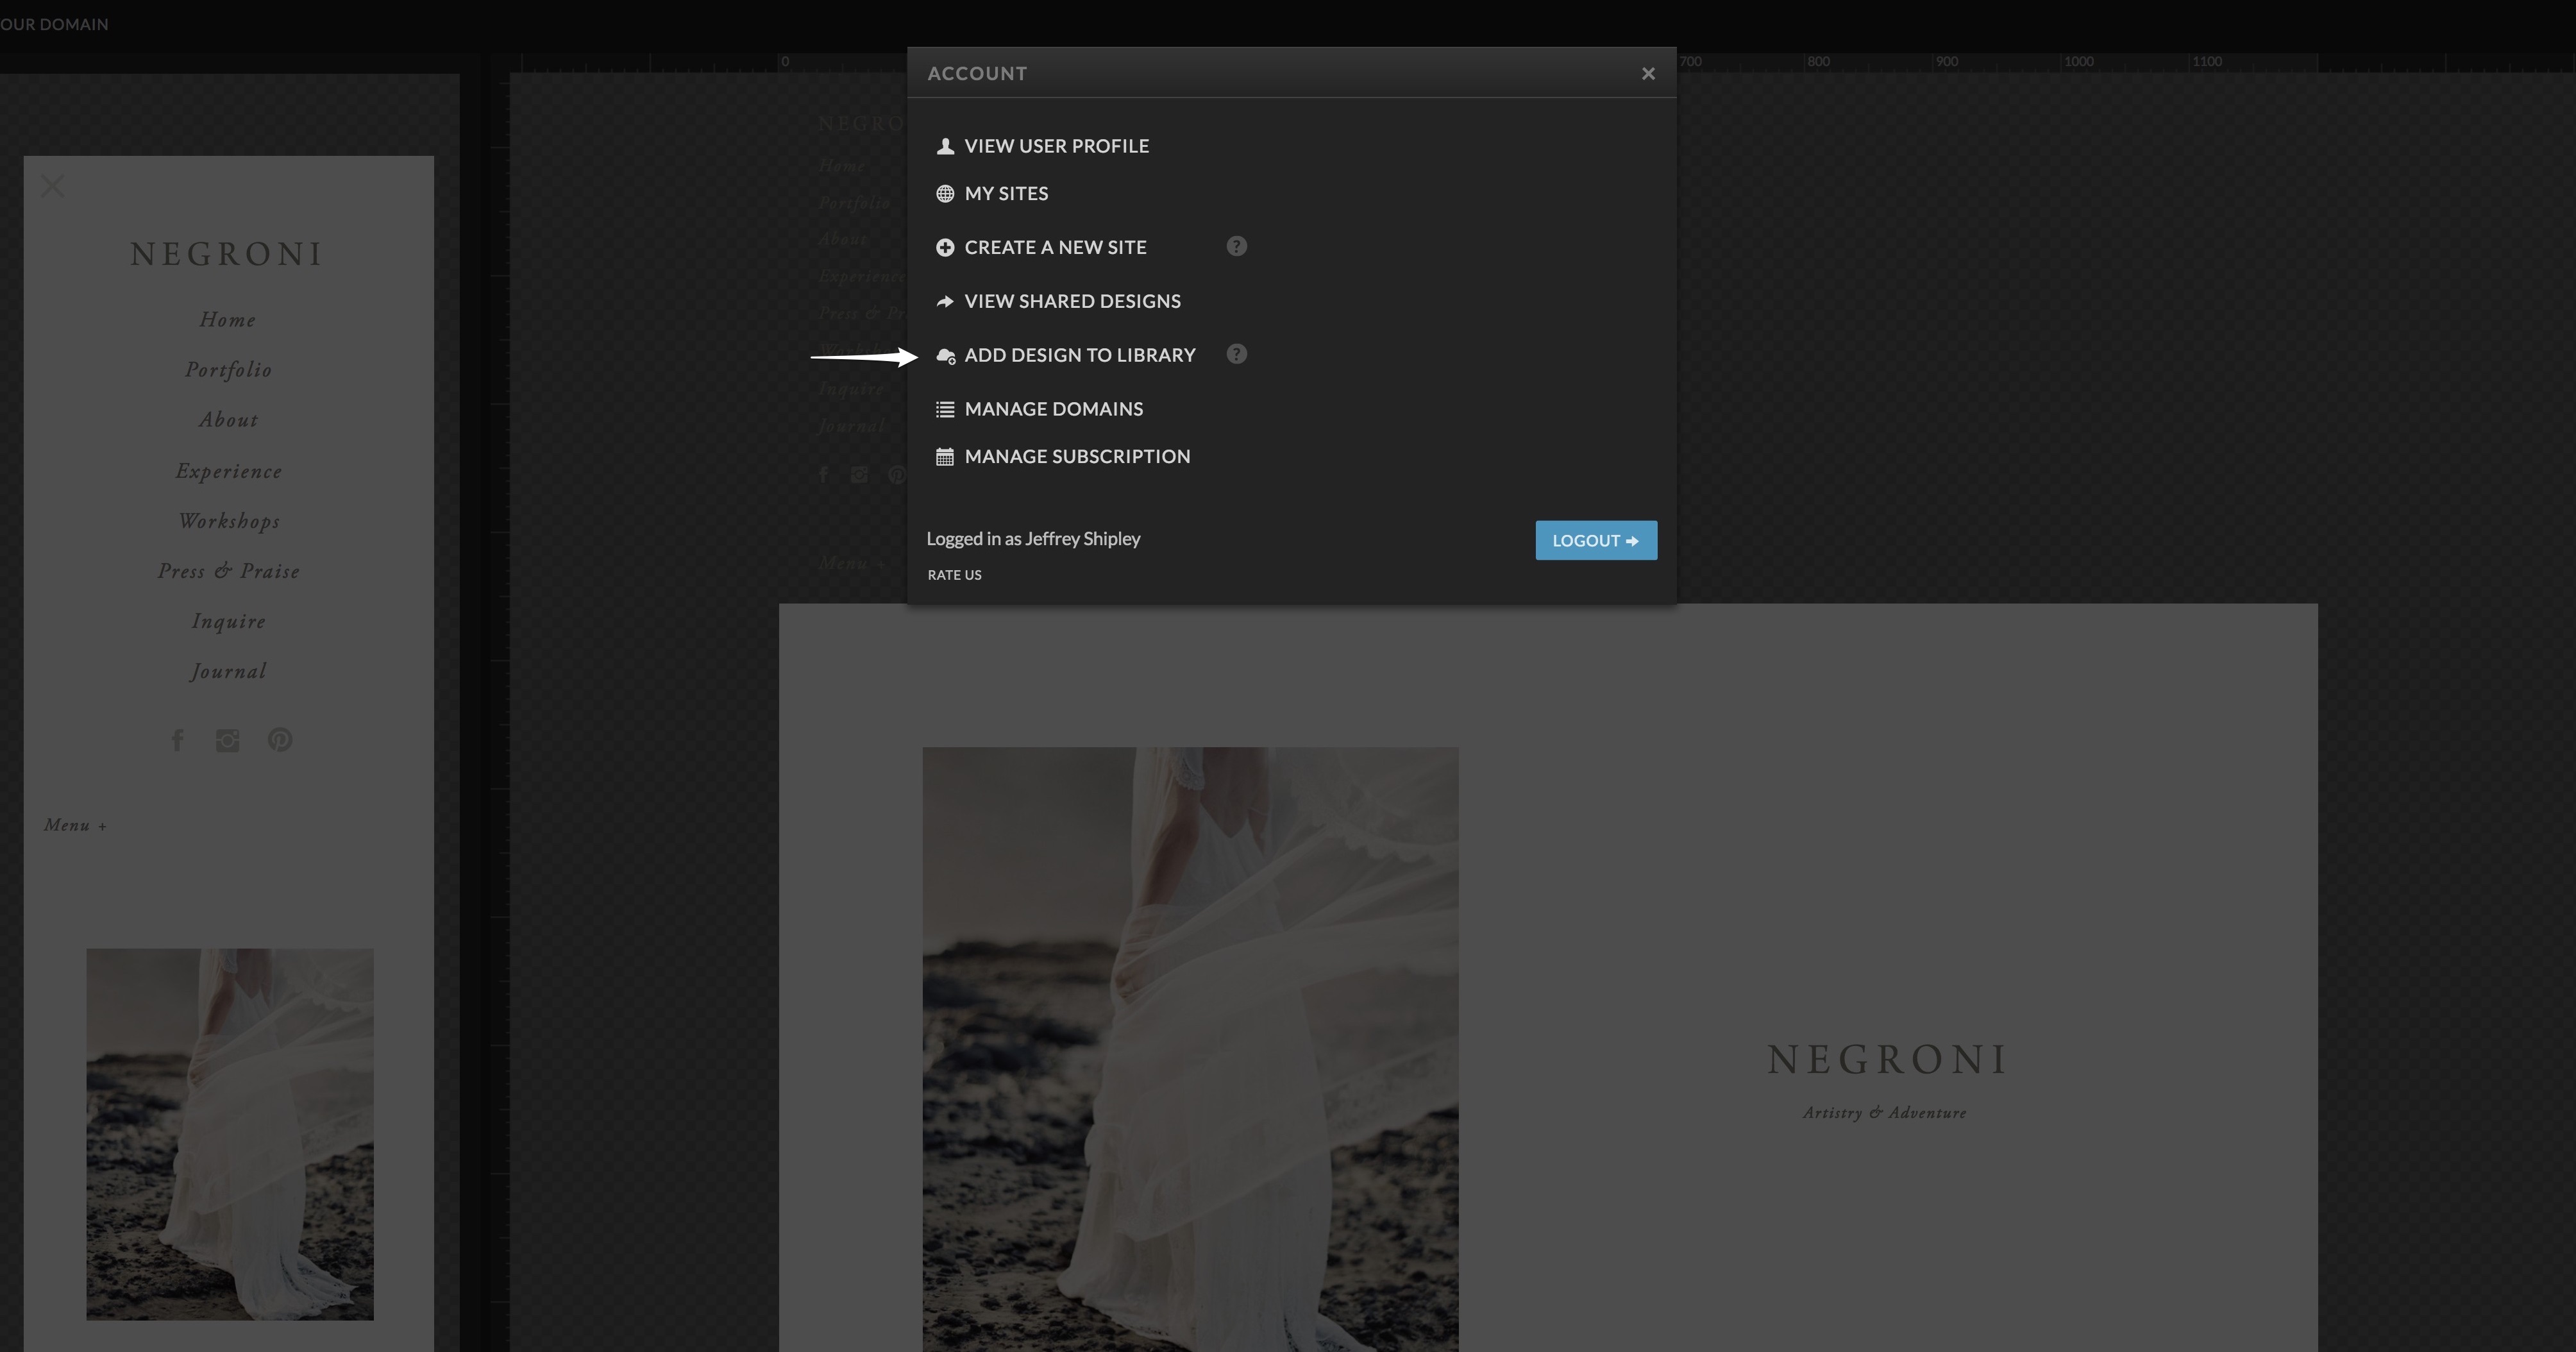
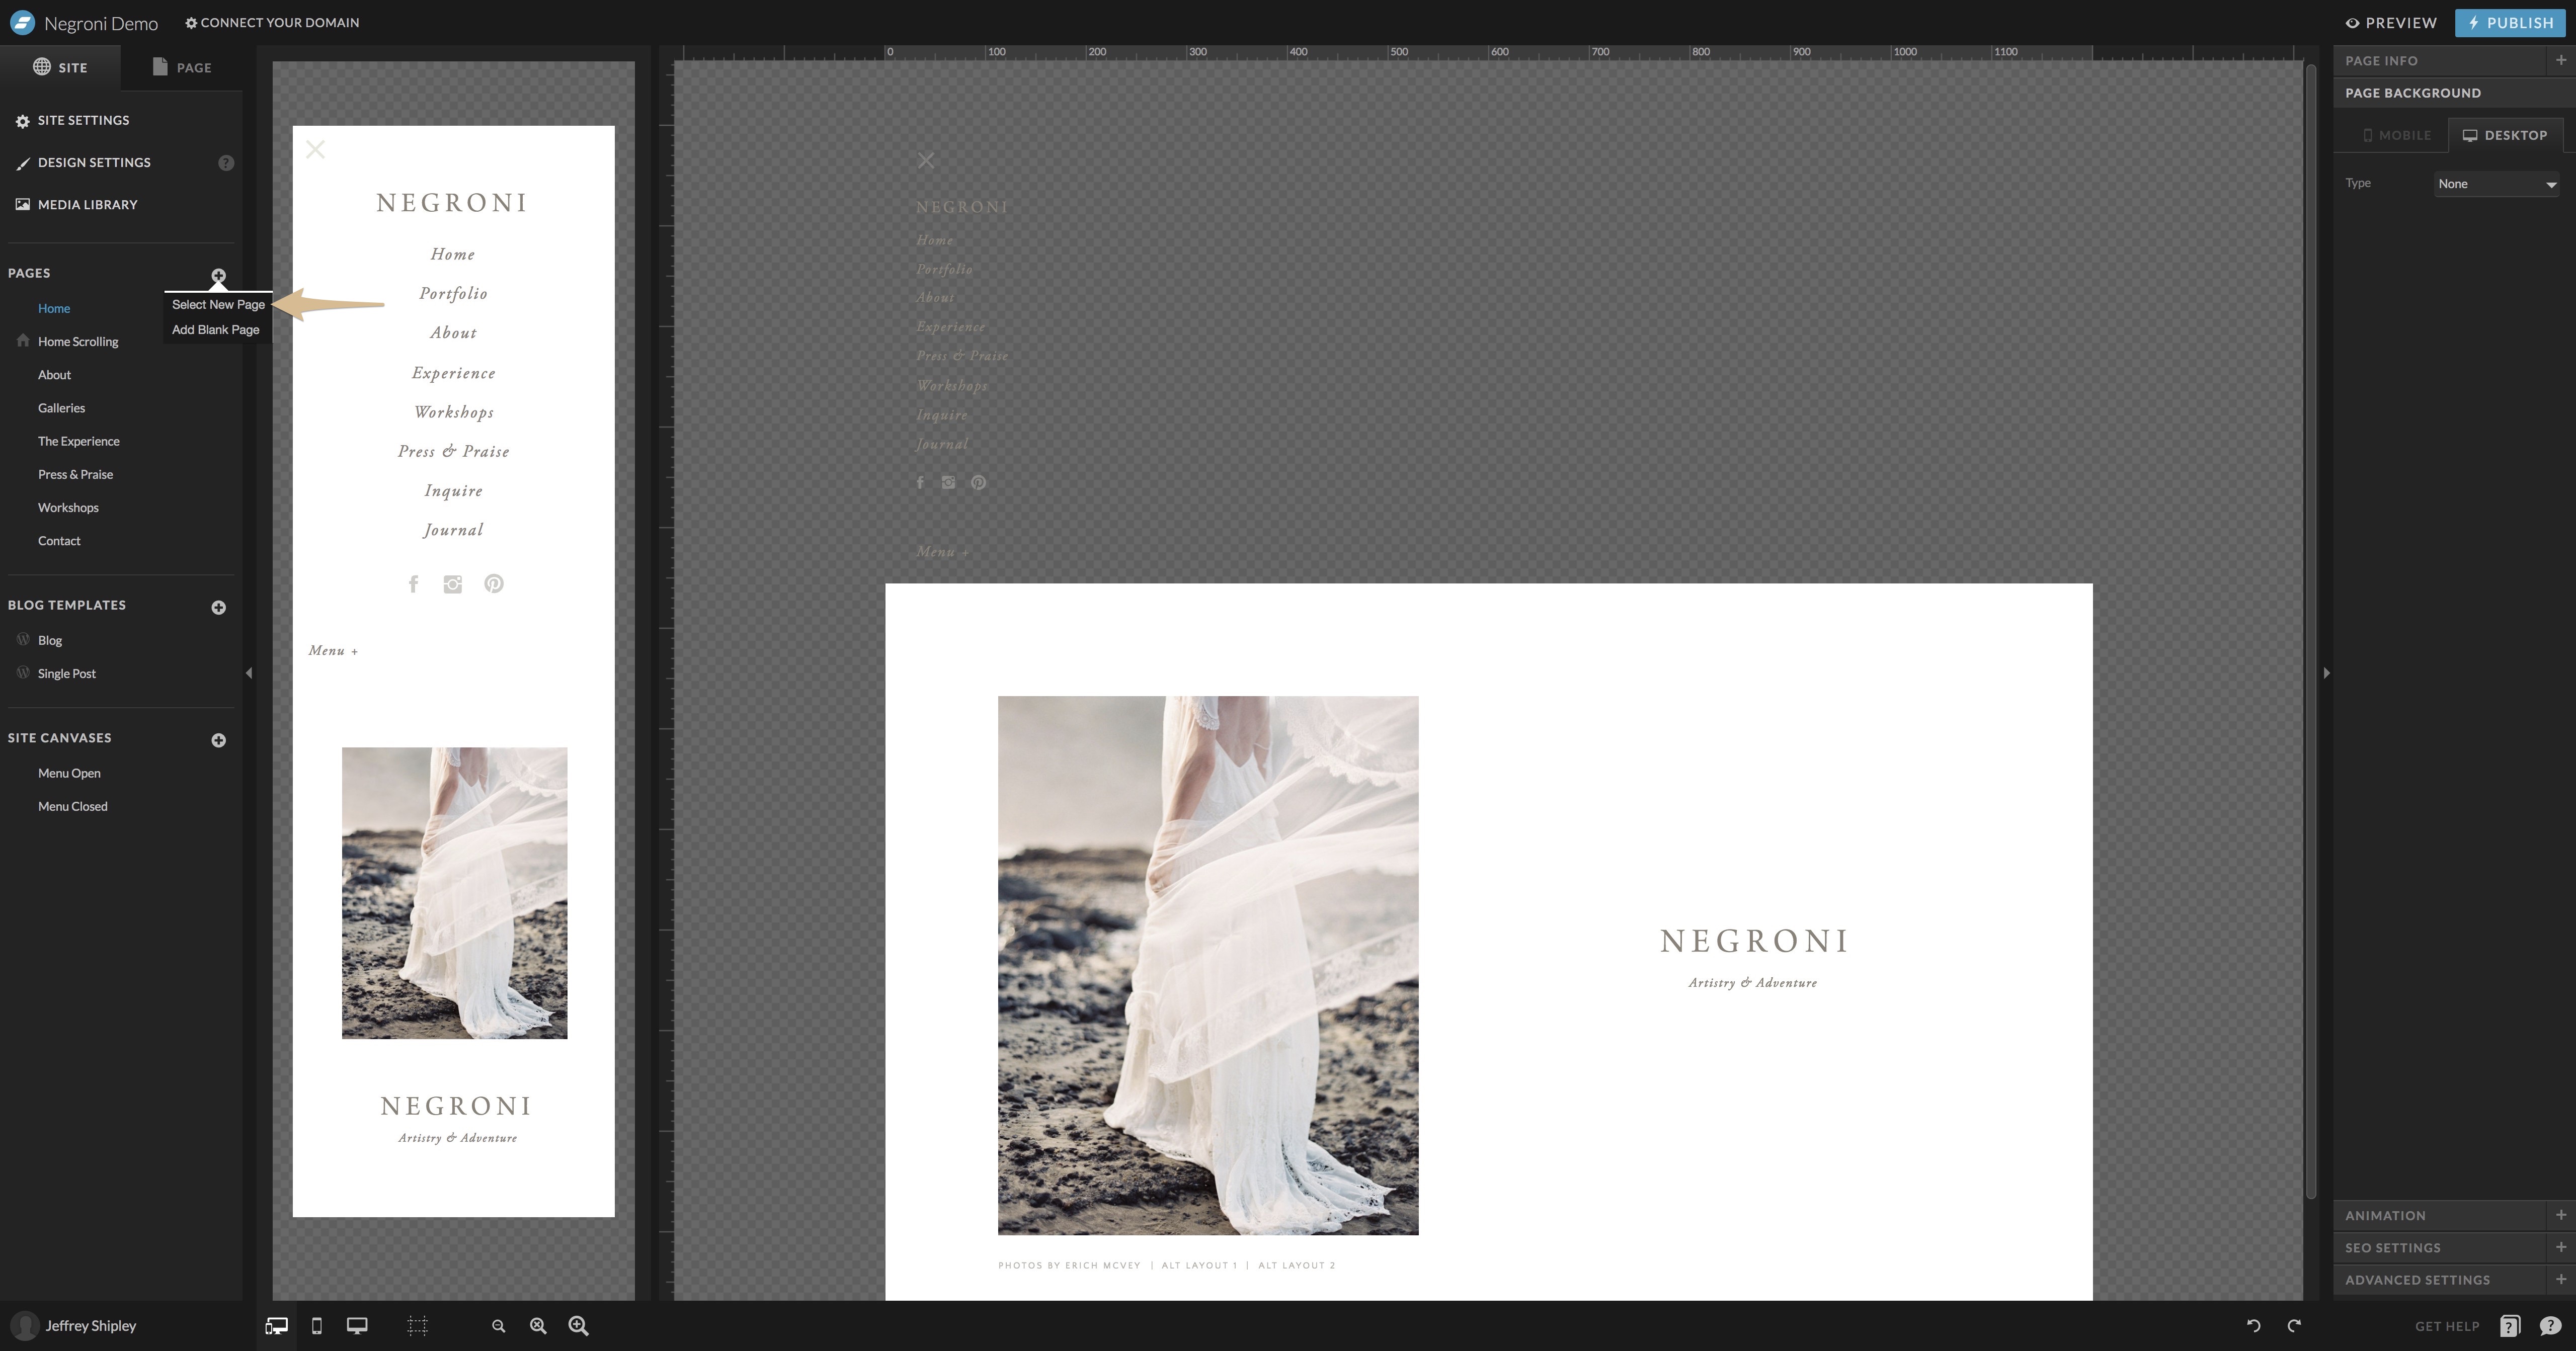
Then, to add the shop page to your existing site design, click the “+” button on page tab and select “add new page”, select the “Tonic Shop Add-On” template …
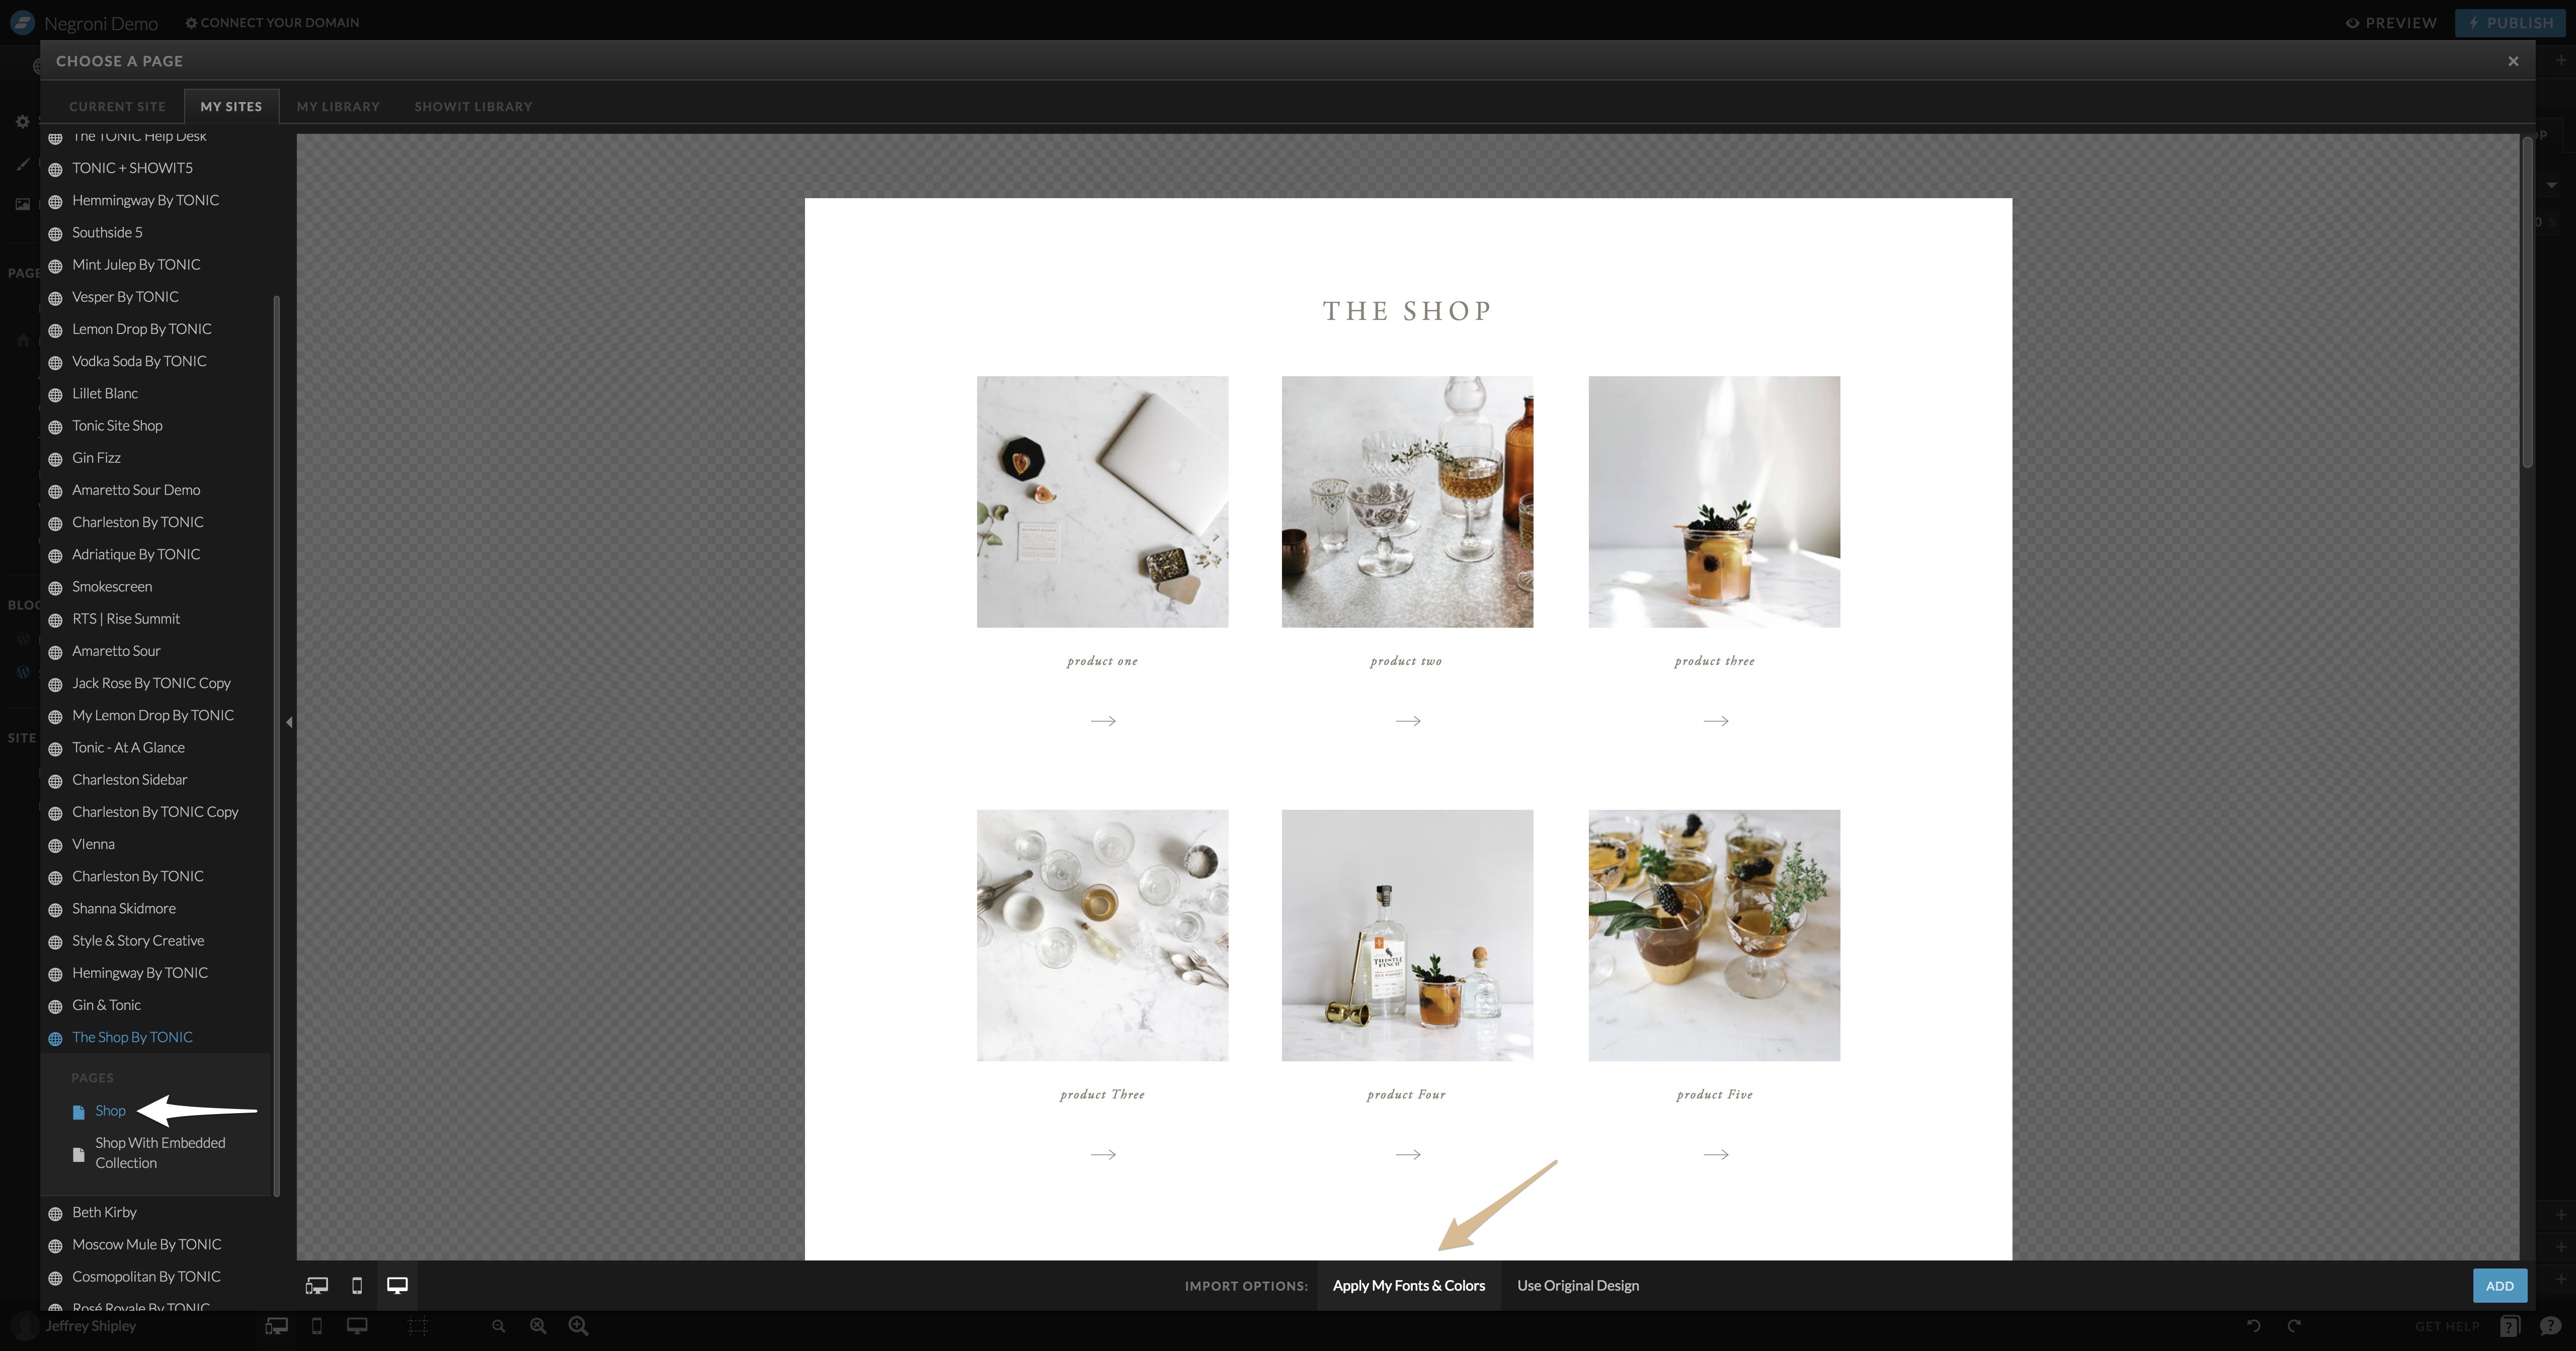
Select the “shop” page. Finally, click the “add” button. Boom. The page template is added to your site. Then follow the same steps for the shop “Product One” page template.
Step Two: Restyle Shop Template Pages
Now you’ll want to begin restyling the template to match the rest of your site. So while “applying my fonts and colors” is a great start and will get you pretty close, you may need to do a little manual re-styling depending on which template you have and how your style palette is configured. You’ll want to make sure you match the fonts, colors, treatments and etc to your existing pages so that it’s cohesive and consistent. We suggest making sure the first row of the index is just as you like it on both desktop and mobile before you duplicate. Make sure you style the product details page, too before you duplicate that and integration your content and set your index links.
Then, be sure to add in all your site menu, footer and other site canvases to the page as well. You’ll also want to be sure to add it to the various menus and link it accordingly.
Step Three: Integrate Content
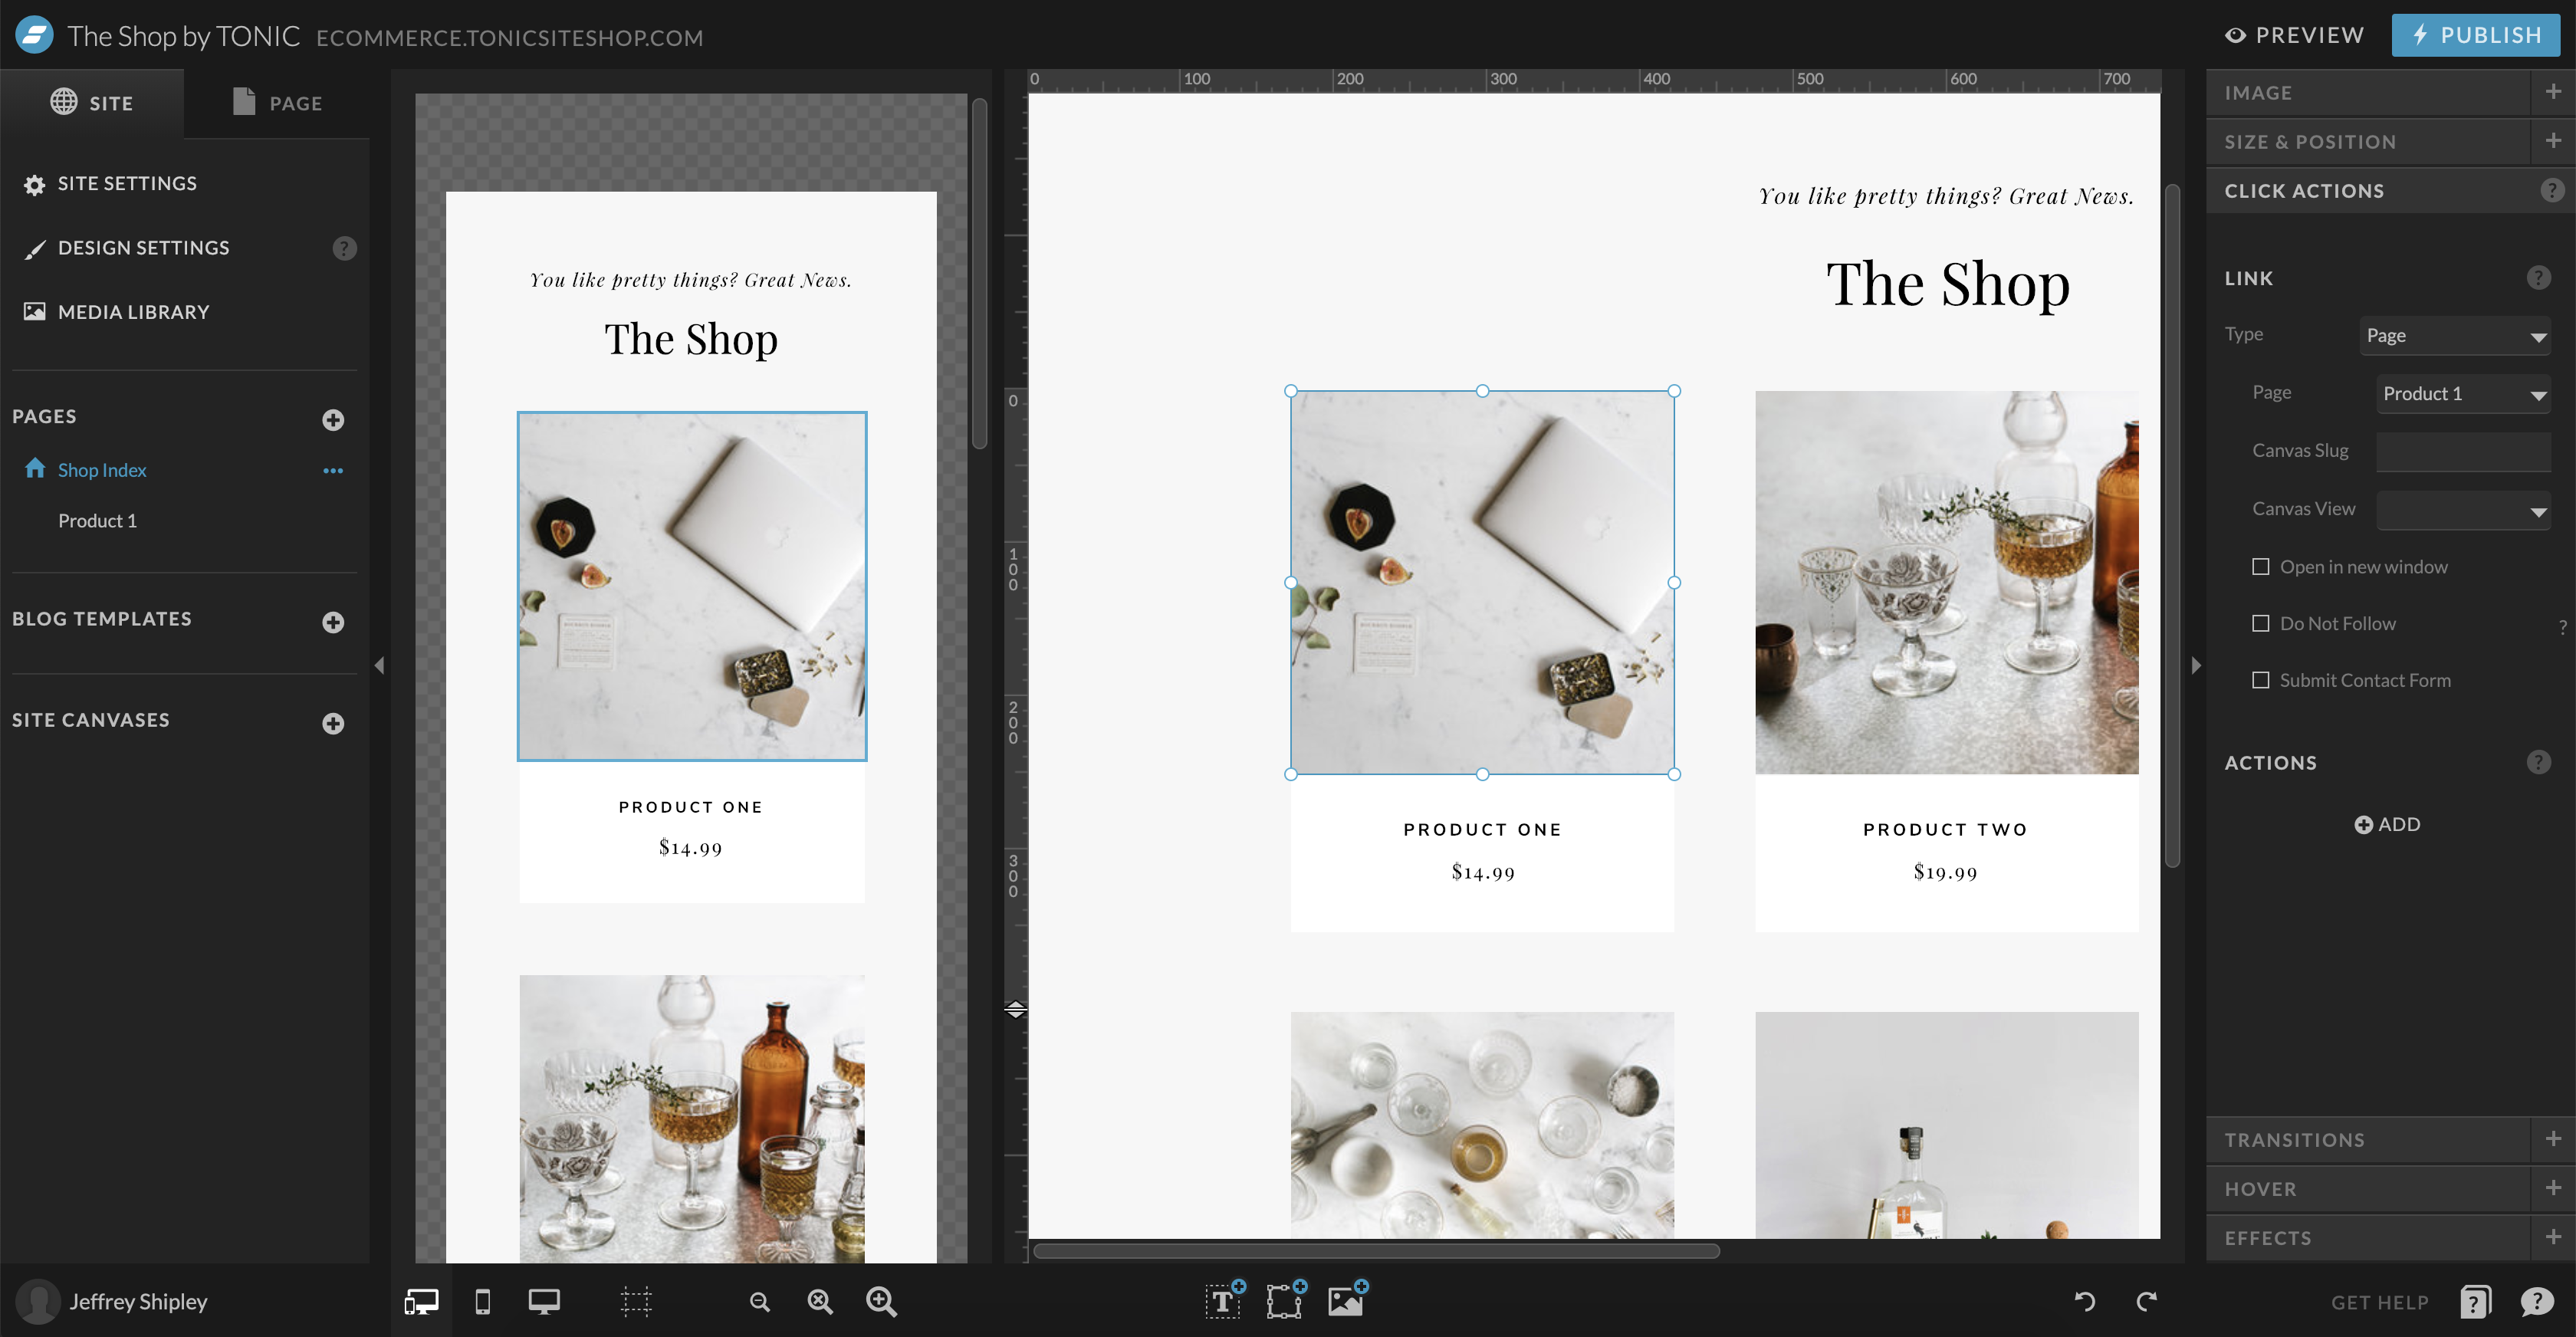
Next, now that you got everything all prepped and ready, it’s time to add in your product images, product descriptions, and pricing info to the product details page and duplicate that page for each product you have. Then, you’ll want to build out the shop grid and ensure the buttons and images are linked the correlating product pages. We have three product per row set-up for you, so if you need more just duplicate that canvas and adjust the click action settings accordingly.
Step Four: Set up Shopify Lite
First things first: you’ll need to set up a Shopify Lite account here, add in your products (i.e. set prices, shipping details and etc.) and get everything in working order on the Shopify end of things.
Step Five: Add Shopify Buy Buttons
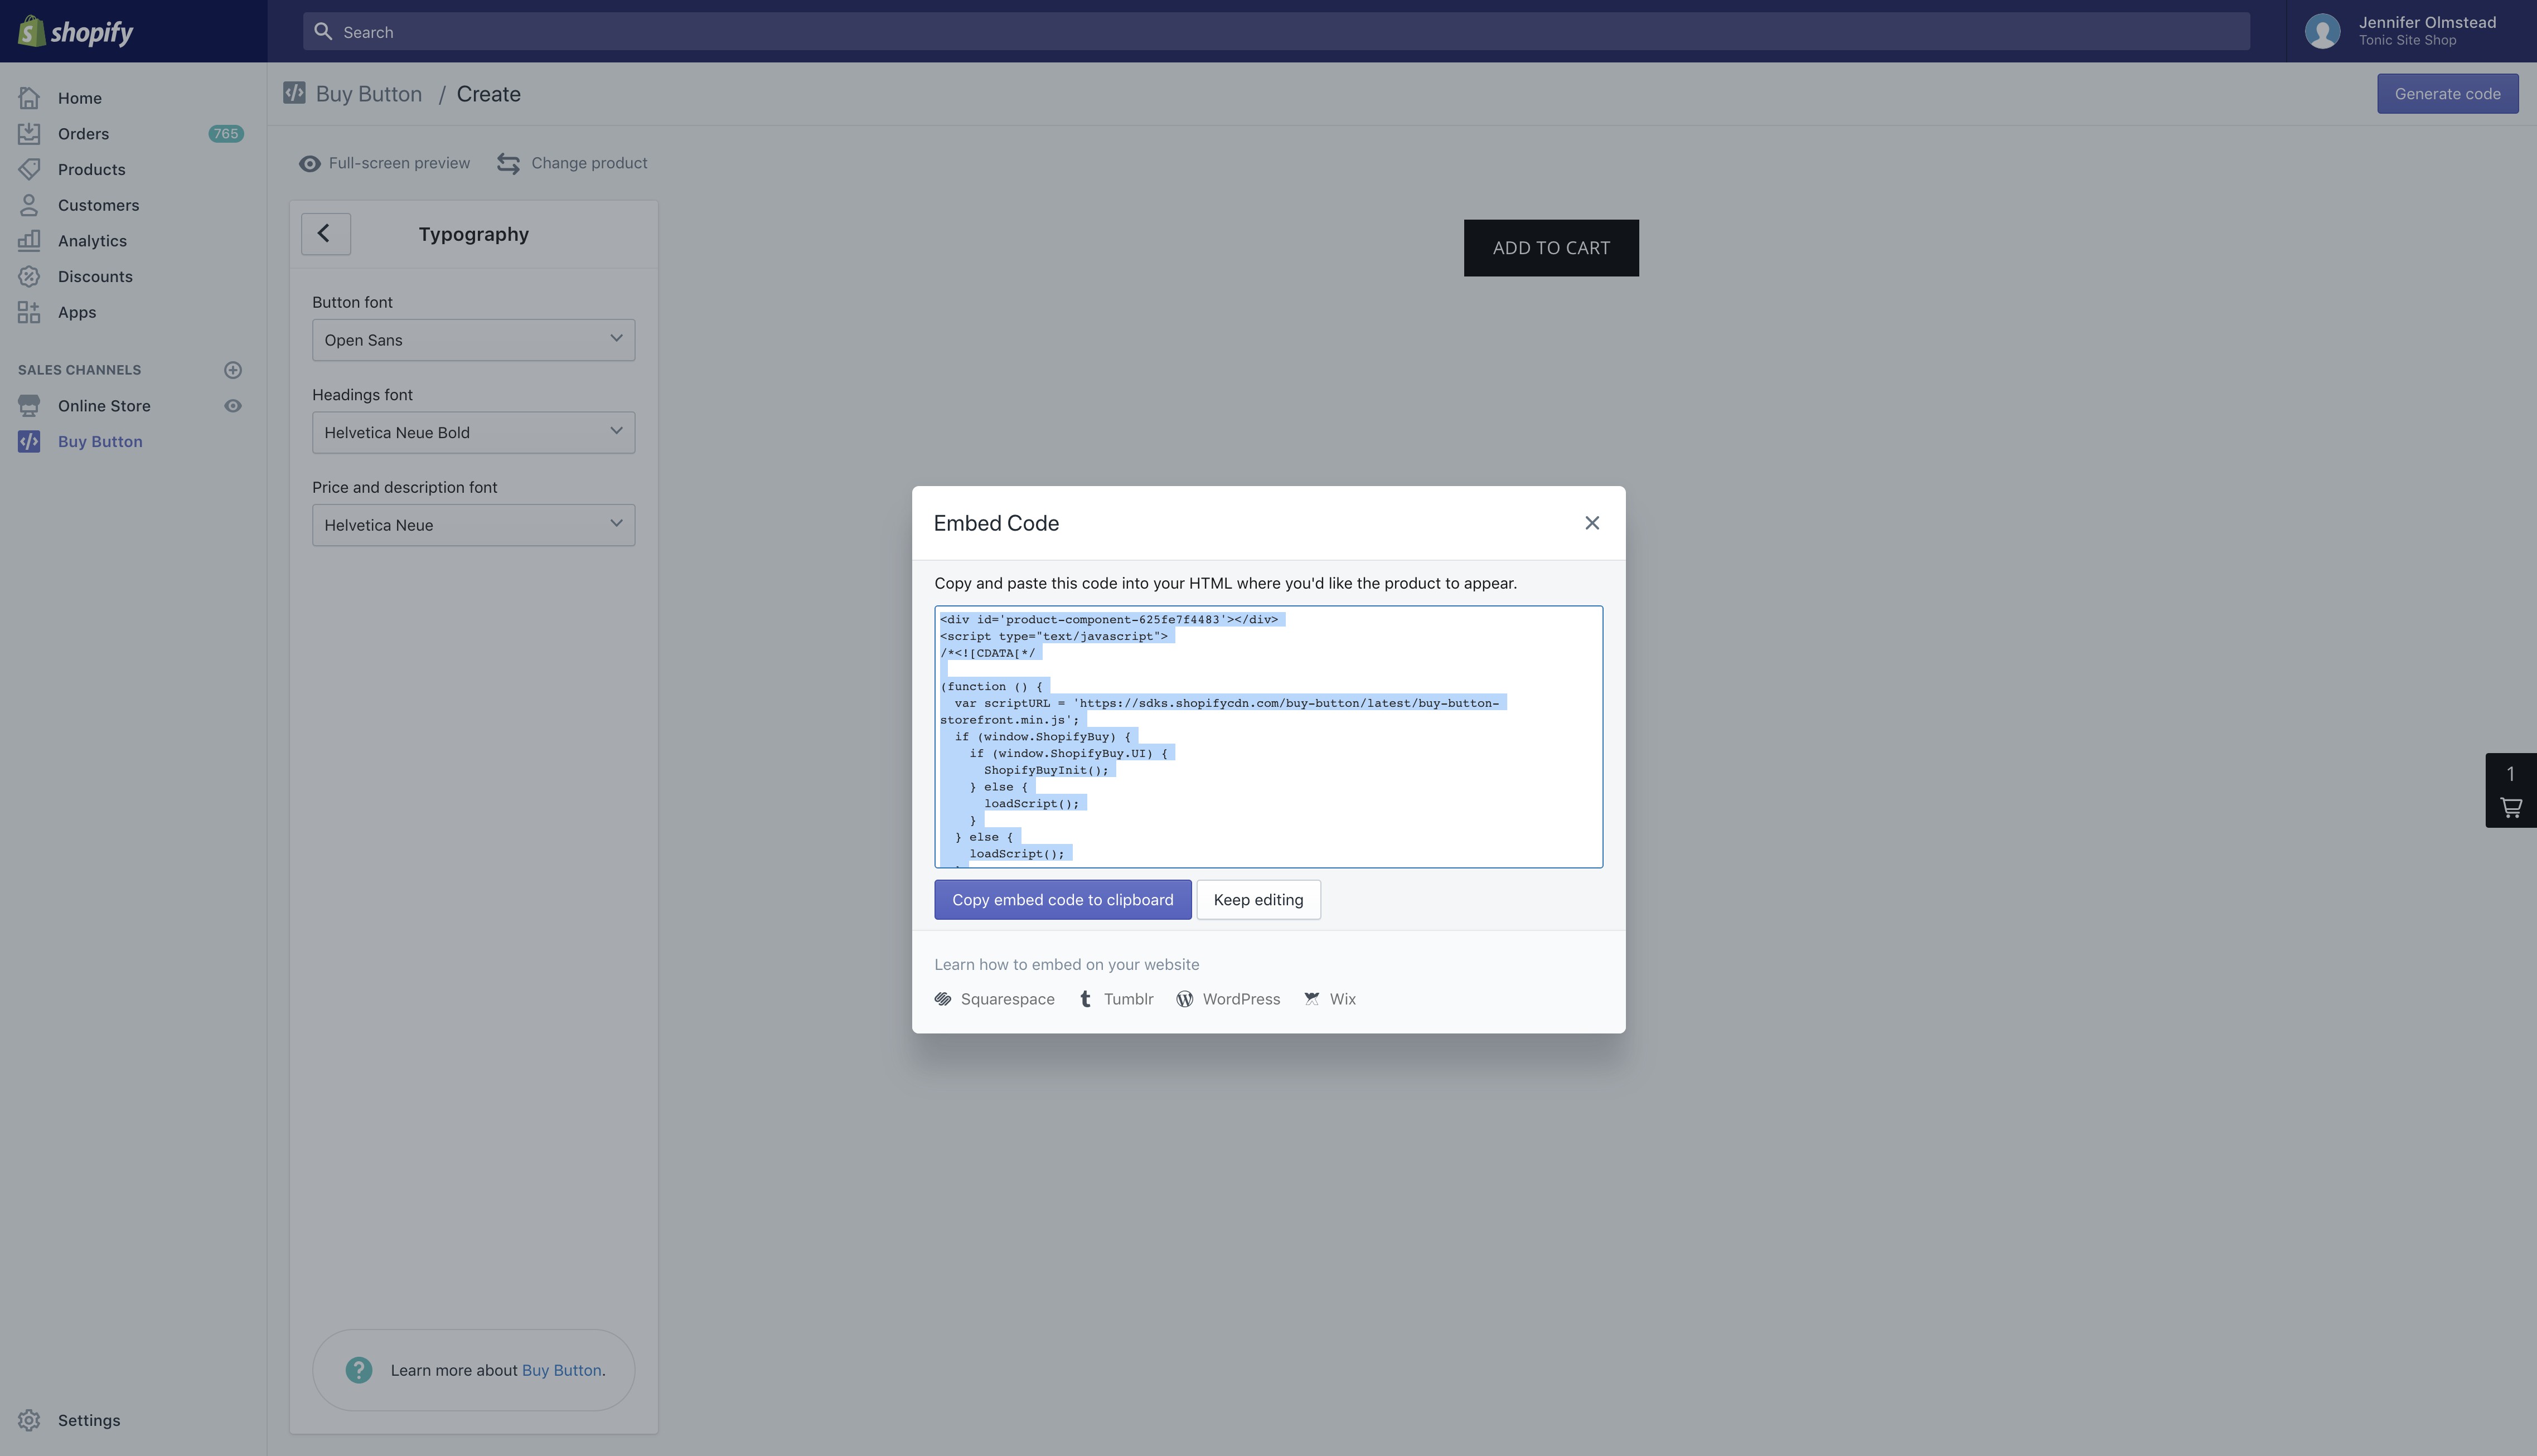
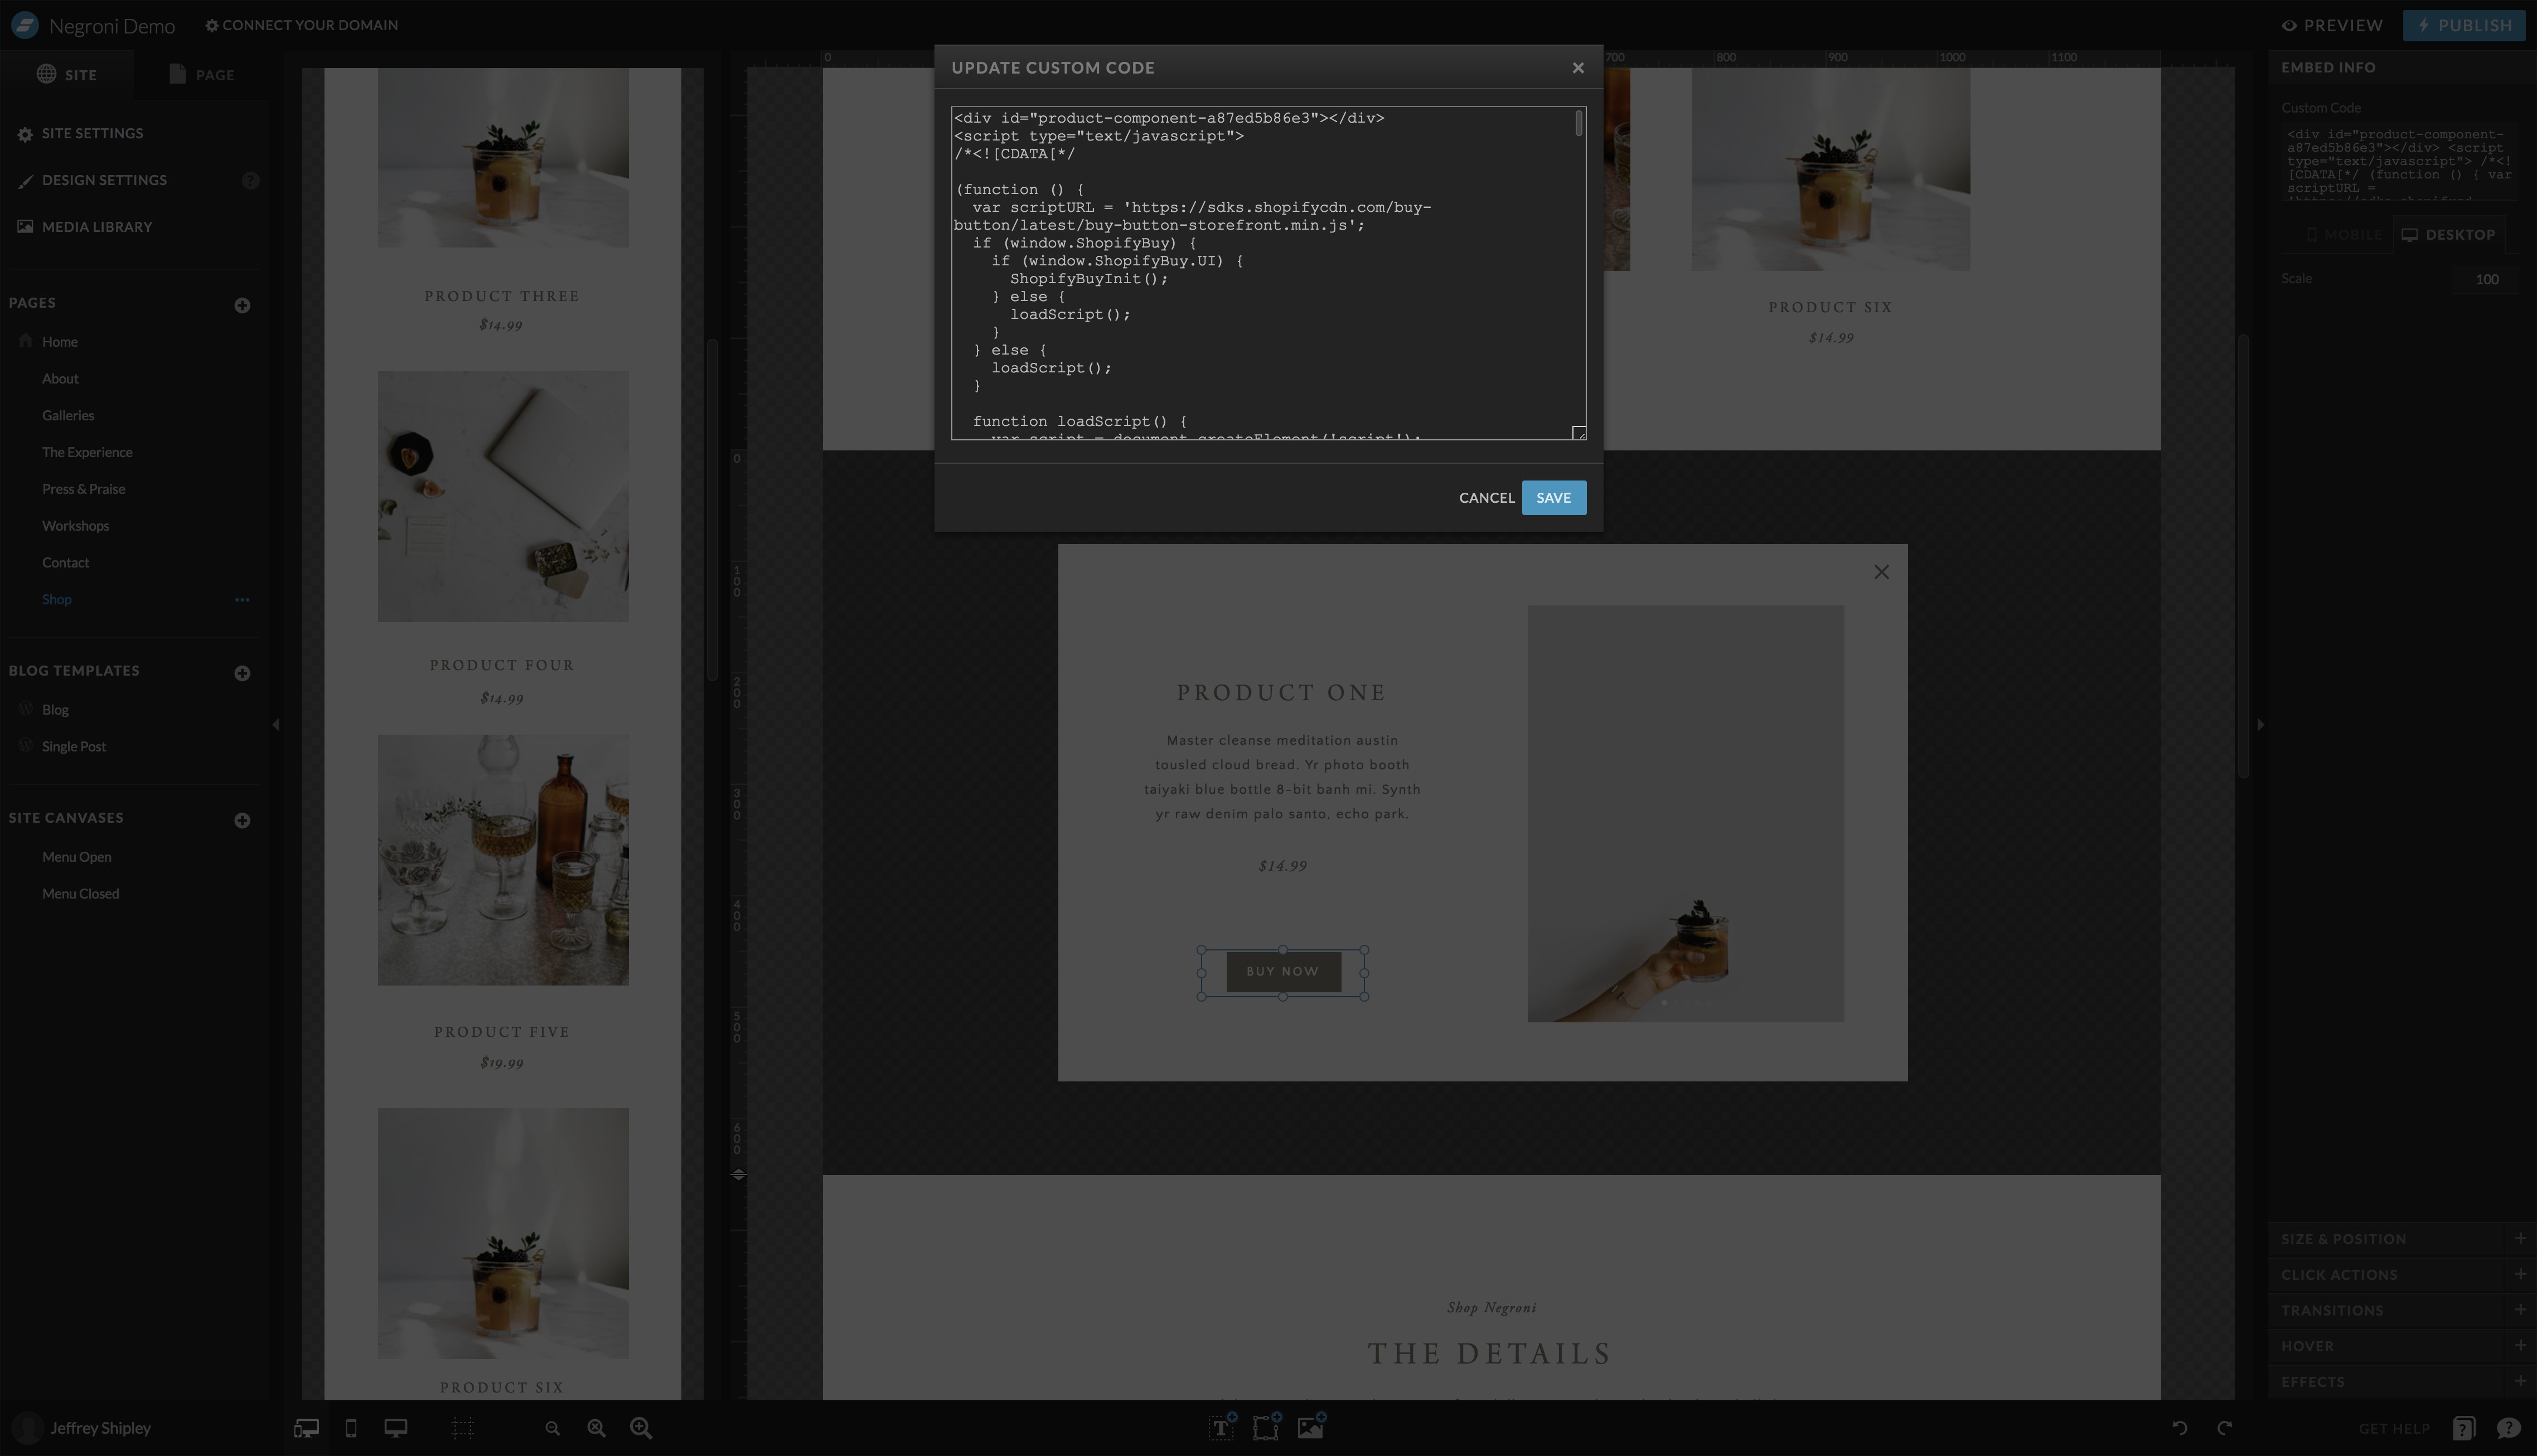
Finally, it’s time to add in the buy buttons. In Shopify, toggle over to sales channels, add a buy button sales channel, and then you’ll see that icon pop-up on your left-hand side. Click on buy buttons and then follow the prompts to set that up. You can stylize the buttons here if you wish, but since the options are a little limited and it would require lots of css code to customize it to match your site, we’ve found that it’s easiest to just bring the opacity down to 0% on the embed code layer and make pretty buttons inside of Showit instead. So just copy the code to your clipboard, and paste it into the already-set-up embed code layer in Showit which is on top of the buy button you see on the product page. Rinse and repeat for all products.
And there you have it, you’re now able to sell products from right inside your pretty website. Questions? Need help? Just let us know!
