Summary
In this post, we’re going to show you how to create a custom review link that redirects people to Google reviews, making it incredibly easy for your clients to leave you killer reviews.
If you want reviews, you have to make the review process easy.
Asking for a review does not have to be complicated, and it should not be a complicated process for your clients to review you.

You can create a link that directs clients to your Google My Business review page with a “leave a review” box that automatically pops up, all without having to search for you and your reviews section.
Creating a review link saves your customers time, looks professional, and gets you more (really great) reviews.
Your link will look something like this: [yourdomain].com/review
For this to work, you will need a Google My Business account and WordPress.
How to create a custom review link to Google Reviews
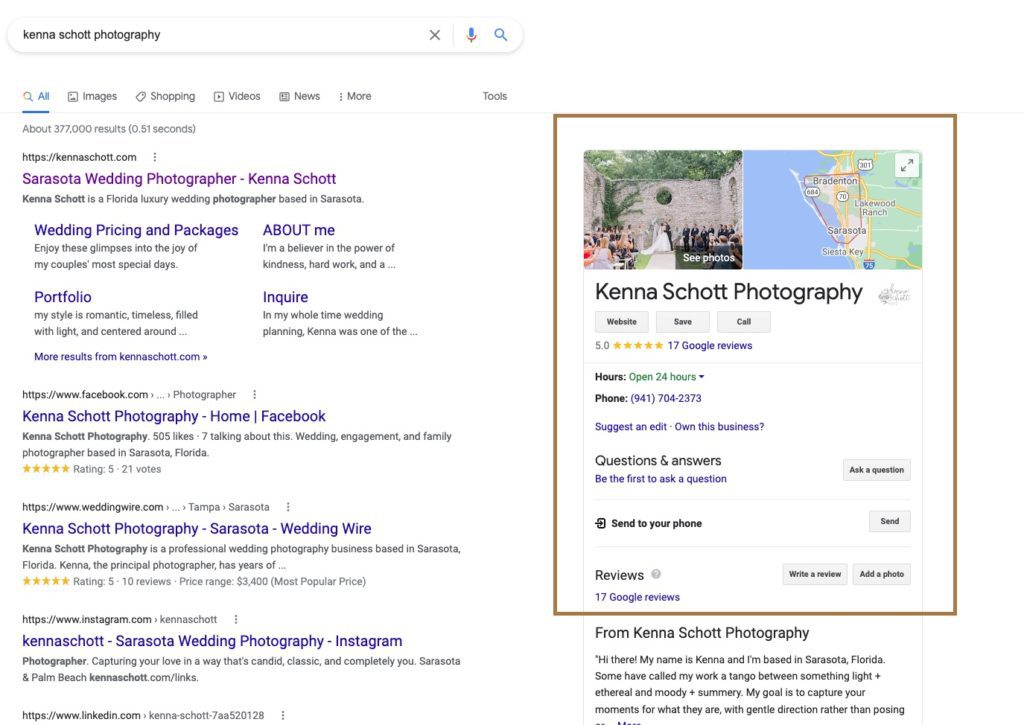
The first step is to open Google Chrome on your computer and search for your business so you see your Google My business show up on the side.

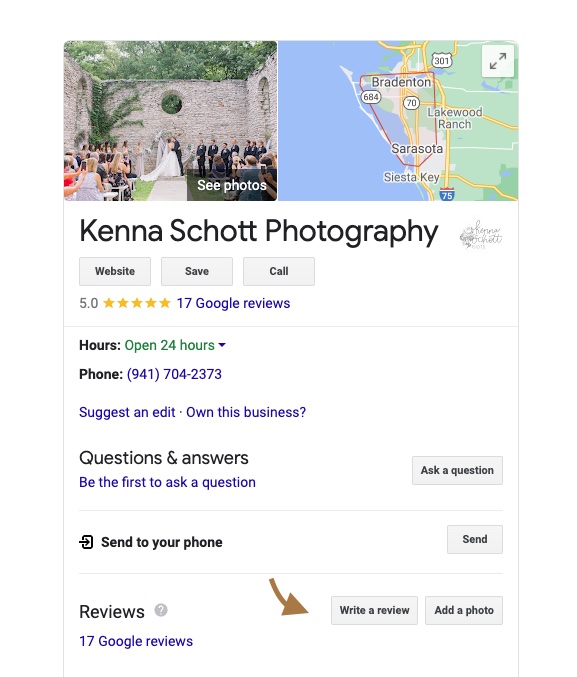
Next, you’ll want to click on “Write a review” button next to the Reviews section so that the reviews window pops-up.

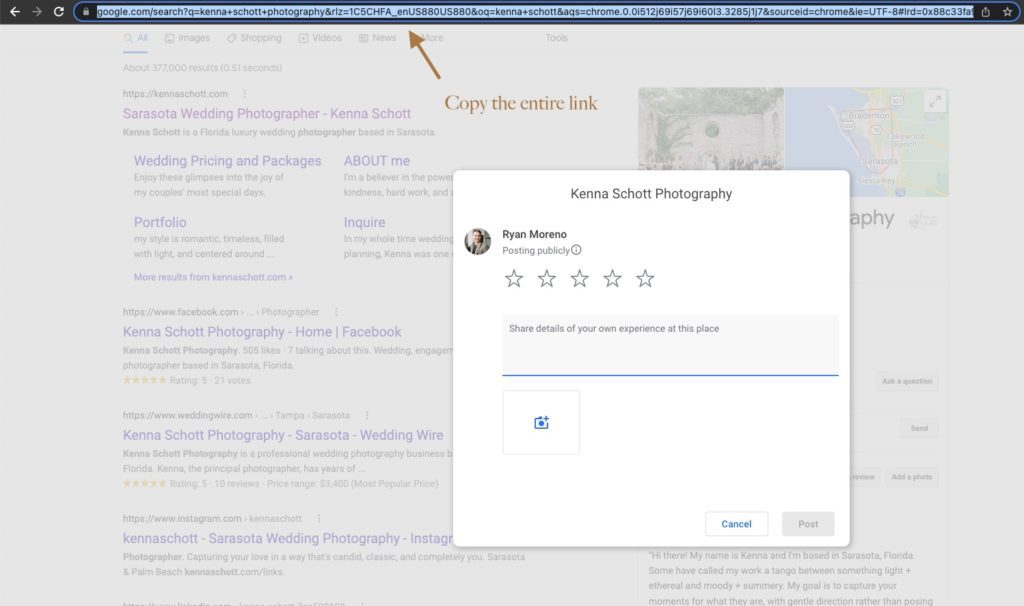
With the reviews window open, copy the entire link in your browser.

Create a redirect so your review link is pretty
You won’t want to send your client that huge, ugly (suuuper profesh 😉) link. So we’re going to create a custom redirect that sends clients to the Google review link… AND make it pretty.
For this step, you will need WordPress.
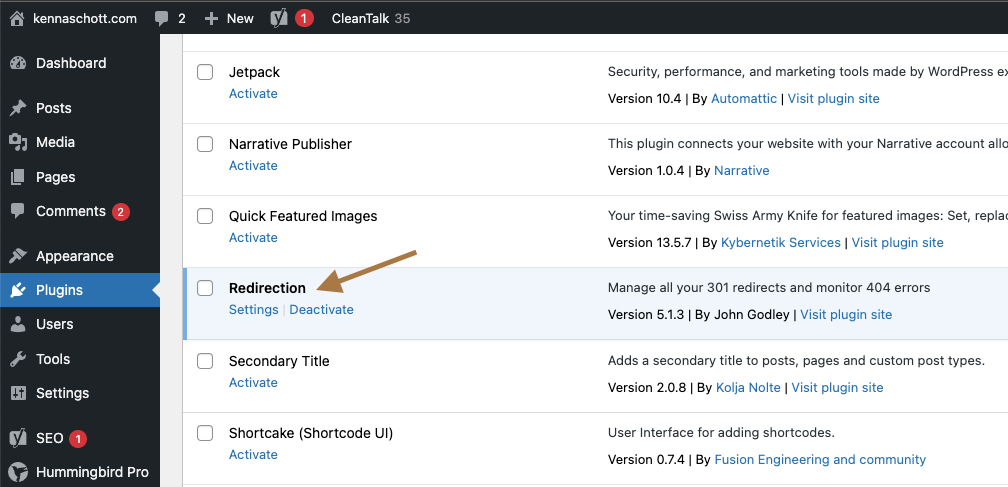
Log into your WordPress dashboard and head over to “Plugins”. We’ll need to install and activate the Redirection plugin.

If you’re using Showit and you have the Basic Blog subscription, then you already have the Redirection plugin installed, so you’ll just need to activate it.
If you have Showit’s Advanced Blog subscription, then you’ll need to install and activate it. Just click “Add New” in the top left of the plugins page and search for “Redirection”. The plugin we’re using has 2+ million active installations and is by John Godley.
After the plugin has been activated, hover over “Tools” and click on “Redirection”.
Next, click on “Add New”.

The Source URL will be the URL you give to your clients. You don’t need to add your root domain. So just type something like /review.
Review link ideas
- /review
- /review-me
- /leave-a-review
Next, click on the “URL options / Regex” dropdown and select both “Ignor Slash” and “Ignore Case”.
Leave Query Parameters alone.
Now, Paste the long, ugly Google link you copied into the Target URL field and click “Add Redirect”.

Test your link out
Your redirect should work instantly. It’s best to test it out on your computer and on your phone, and maybe send a “hey can you check out my cool new review link?” to a few friends and have them test it out as well.
Conclusion
If your clients have to search for your business in Google or Maps to leave you a review, chances are… they won’t. We hope you now feel equipped to get the feedback you want and need because gaining Google reviews from clients should be a seamless, easy process.


