
How to add Kajabi to your Showit website
Kajabi is one of the most popular online marketing tools available and it’s packed full of amazing features.
From online courses, coaching, podcasts and communities, to email funnels, opt-in forms, and memberships, Kajabi does it all.
And the best part is, Kajabi works seamlessly with Showit. With a Showit website, it’s incredibly easy to add opt-in forms to your site and link out to your courses and communities created with Kajabi.

Jump To
How to add a Kajabi form to a Showit Website Template

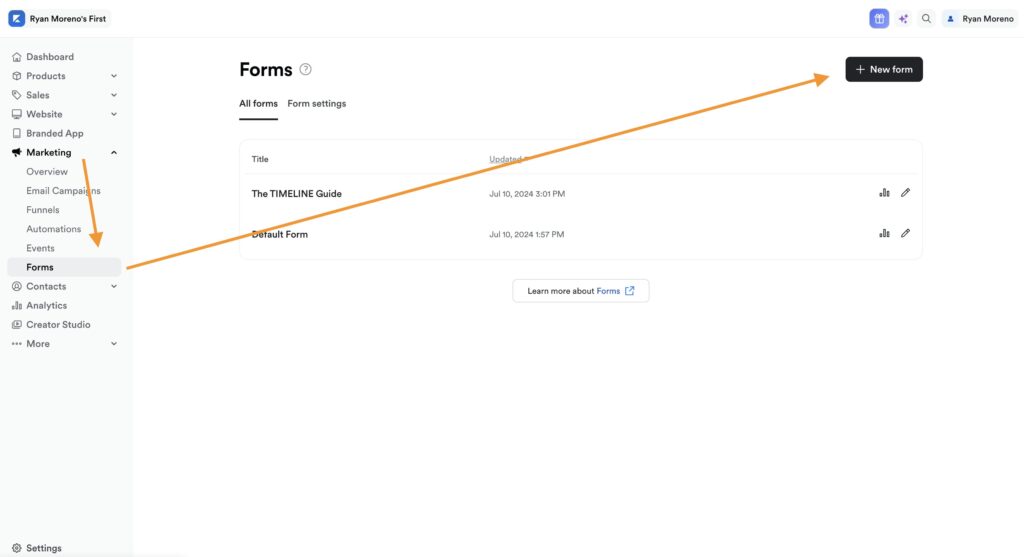
Step 1: Create a Kajabi Form
Log into your Kajabi account and click on Marketing then click on Forms. From here you can create a new form or edit an existing form if you’ve already created one.
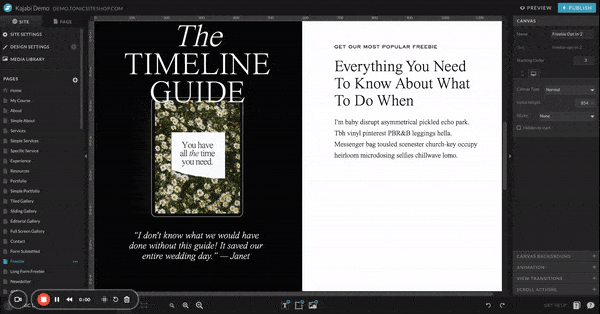
Step 2: Get Your Kajabi Form Embed Code
Click on “Embed” and then copy the embed code for your Kajabi Form. You will need this code to show the form on your website.
Next you’ll want to head over to Showit and navigate to the page where you want to add your new form.

Step 3: Add Kajabi Form Code to Your Showit Page
Inside Showit, click on the “Elements” icon at the bottom center of the app, then click on “Embed Code”. Position the embed code box on your page and resize it accordingly. You can always adjust the size of the embed code box after adding your code.
Next, double click on the embed code box and paste your Kajabi form code.
How to Add a Kajabi Course to a Showit Website Template

- Create a Kajabi Course
- Create a course sales page in Showit
- Link the buttons on your sales page to your course offer
- Add “Student Login” to your navigation and footer
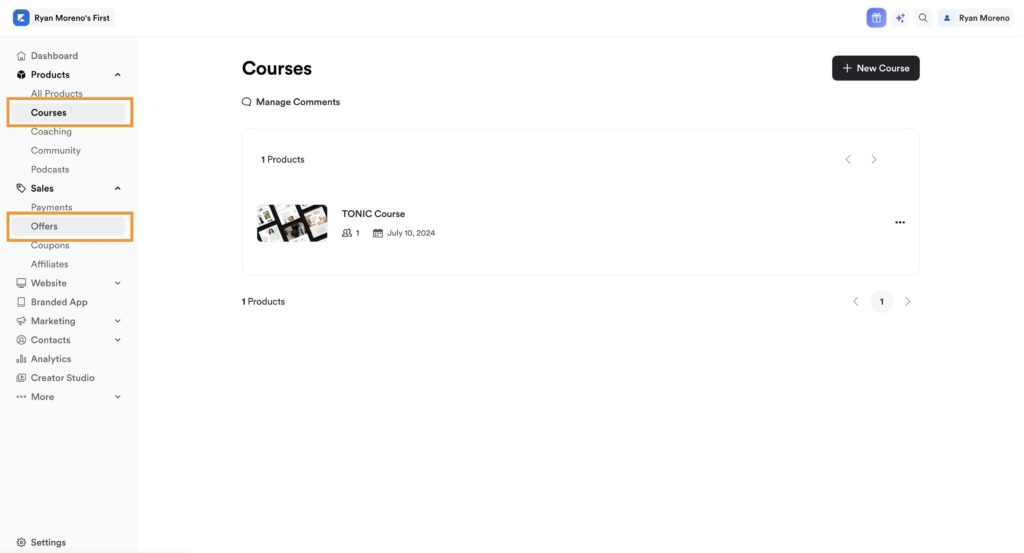
Step 1: Create a Kajabi Course
Creating a course in Kajabi can take some time but there are lots of great resources online to help you get started creating a Kajabi course. We recommend following Graham Cochrane for the best Kajabi tips and tricks. He has a blog full of Kajabi and business resources and a YouTube channel with great kajabi tutorials available.
After creating your Kajabi course, you’ll want to create an offer for your course. This will allow your website visitors to purchase your online course.
Step 2: Create a Course Sales Page in Showit
The best way to sell your online course is to have a dedicated sales page for it. Creating a sales page in Showit is incredibly easy especially if you use one of our pre-designed Showit sales pages!
If you’re looking for more information on how to create a powerful sales page check out this post about why you need a sales page.

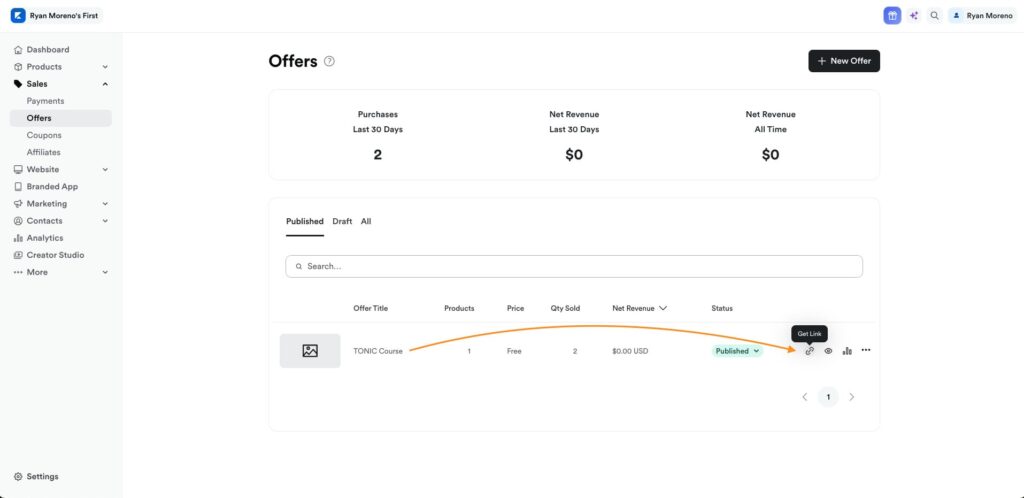
Step 3: Link Your Sales Page to Your Course Offer
Inside Kajabi, click Offers located under the Sales dropdown. Your offer(s) will be listed there. Click on the “Get Link” icon to copy the link to your offer. This link will direct your website users to a Kajabi checkout page where they can purchase your online course.
Add this link to all of the buttons on your courses sales page.
Step 4: Add Student Login Buttons to Your Website
Once people buy your online course, chances are they will go back to your website when looking to login to your course. It’s best to add “Student Login” buttons to your websites navigation and footer.

The example above is just a text box, line, and icon added to the site’s navigation. Lucky in Showit it’s really easy to add this to your website!
You can link the student login text box directly to your course by adding your personal Kajabi URL followed by /login.
Example: https://tonicsiteshop.mykajabi.com/login
Conclusion
Adding a Kajabi form and Kajabi course to your Showit website is incredibly easy. Showit allows you to have the best course sales page design and Kajabi has a great course user experience, making Kajabi and Showit a great choice for online course creators!
Kajabi